Custom Docker Images 1
In this section, we will modify the docker image for the Ubuntu 18.04 application image.
Modify Docker Image
In this section, we modify the Ubuntu 18.04 application Docker image defaultImageRepoTag so that we can provide a custom Docker image.
Currently defaultImageRepoTag is set to bluedata/ubuntu18.04:1.1
Change defaultImageRepoTag to localhost:5000/myubuntu:1.0 (we will create this image in the steps below).
The full json should now look like this:
Create Dockerfile
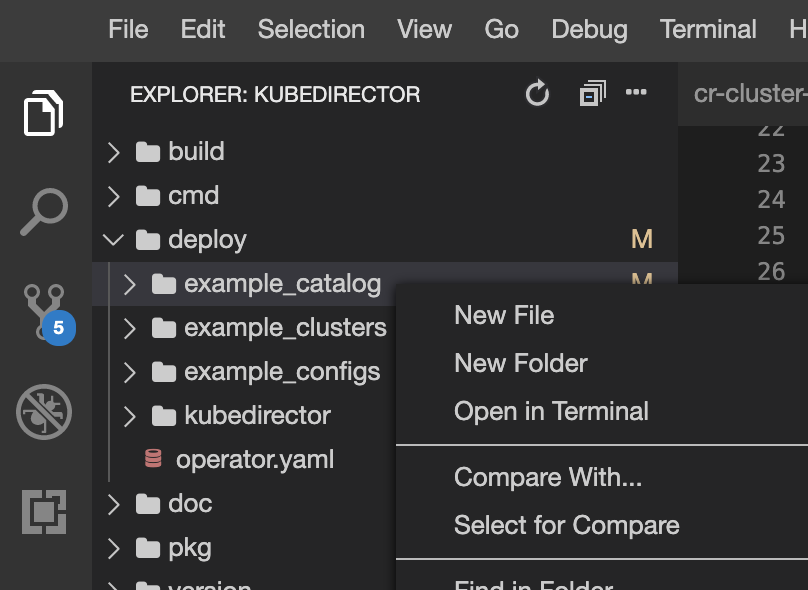
We need to create a Dockerfile - let's create a new folder for it inside deploy/example_catalog/ called myubuntu:
Now create a Dockerfile in the folder myubuntu with the contents:
Change yourname to your name without spaces or special characters.
Run a local registry
To make development easier, we will deploy a local registry to push our custom image to:
Build and Push image
In the terminal, change to the myubuntu folder and build your custom image and push it to the local registry:
Next we push the image to our local registry:
Deploy the KD app image
First ensure you aren't still running an Ubuntu KD clusters from the previous tutorial.
Next undeploy the existing Ubuntu KD application image definition:
Deploy the new Ubuntu KD application with your changes:
Check the deployement was successful:
You can see my image has only just been deployed:
Deploy the KD Cluster
Next we can deploy the KD Cluster:
We can then run ls / inside the cluster to see the file we created in our Docker image modified_by_yourname:
Reference information
In this lesson we saw how defaultImageRepoTag works.
You can find the:
If a KD Application has multiple roles (covered later), you can specify the imageRepoTag for each role:
KubeDirectorApp.roledefinition here